Sandbox Overview
The Sandbox page allows you to interact with your setup. It facilitates:
Device Interaction
- Access and control individual devices in your setup.
- Adjust settings, start or stop operations, and monitor parameters.
- Simulate device actions and observe real-time effects.
Recipe Execution
- Load and execute saved recipes.
- Observe how devices, containers, and connections interact based on defined steps.
- Test and validate recipes before real laboratory execution.
Data Monitoring
- Monitor and record data generated by devices during Sandbox interactions.
- Visualize data in real-time graphs for trend analysis and pattern identification.
- Make data-driven decisions to optimize process performance.
Window Arrangement and Adding a Device
We'll begin our introduction to the Sandbox by rearranging the main window workspace.
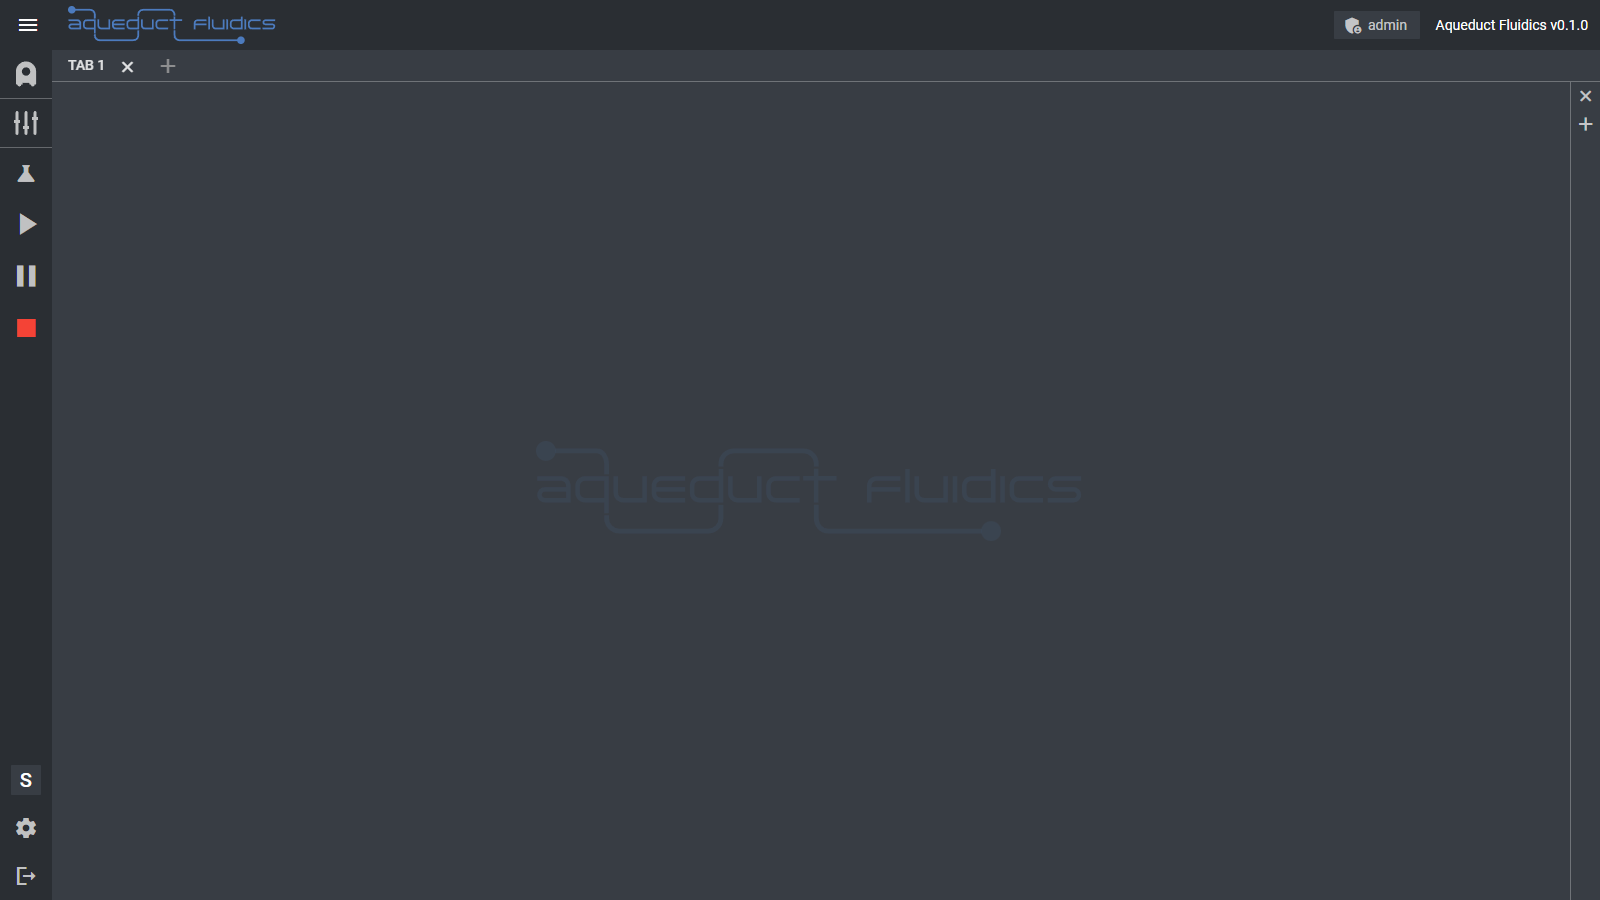
If you see a faint Aqueduct Fluidics logo on a white canvas, it means that you have an empty Tab; no Tab Containers or Widgets have been added to it yet.
Each workspace Tab can contain one or more Tab Containers. Each Tab Container can contain one or more Widgets.
Nesting Widgets in Tab Containers and Tab Containers in Tabs gives you the flexibility to organize the interface's layout to suit your application and personal preferences.
Let's add a Tab with a single, empty Tab Container to the workspace by clicking the plus icon just to the right of the left sidebar menu. Next, add a Widget to the new Tab Container by clicking the plus icon on the vertical Tab Container menu at the right of the screen. We want to add a Sandbox Widget, so click:
> Add Widget > Sandbox
The Sandbox Widget displays cartoon icons of all of the Devices, Containers, and Connections in your Setup. The icons have interactive buttons and animate to indicate activity.
Now we're ready to add a Device to our Setup, which is currently empty.
Before continuing, make sure that you're in Simulation Mode by verifying that the Mode Indicator badge on the lower left sidebar menu displays an S. If you see an L, you're in Lab Mode. Switch to Sim Mode by clicking the Settings Button (gear icon) below the badge and selecting:
> Mode > Sim
To add a Device, expand the Setup menu by clicking the Setup Menu Toggle (pump icon) on the left sidebar menu. Click the plus icon to the right of the Devices expansion menu to reveal the Device Library, which is organized by device function. Select:
> Pumps > Peristaltic Pump (PP)
to add a PP Device. A new PP Icon will appear in the Sandbox Widget and a new peristaltic_pump_000001 entry will appear in the Devices expansion menu. By default, each Simulated device is assigned the name:
[TYPE]_[NUMBER]
when it's added to the Setup, so our first peristaltic_pump type Device gets the name peristaltic_pump_000001.
We'll see how to change the name later.
You can also add a Device from the context (right click) menu in the Sandbox Widget. Right click in the widget, and then select:
Add Component > Device > Pumps > Peristaltic
to add a second peristaltic pump. We don't actually want this pump, so you can go ahead and delete it by right clicking on the icon and selecting:
Delete Device
Ok, we have a pump. Now let's see how to interact with it...