System Settings
- Managing Account Creation and Passwords
- Registration Access Code
- Creating a New User Account
- Changing or Resetting a User Password
- Configuring Registration Code Cycling
- Configuring Password Expiration
- Account Lockout
- System Logs
- Logged Events
Managing Account Creation and Passwords
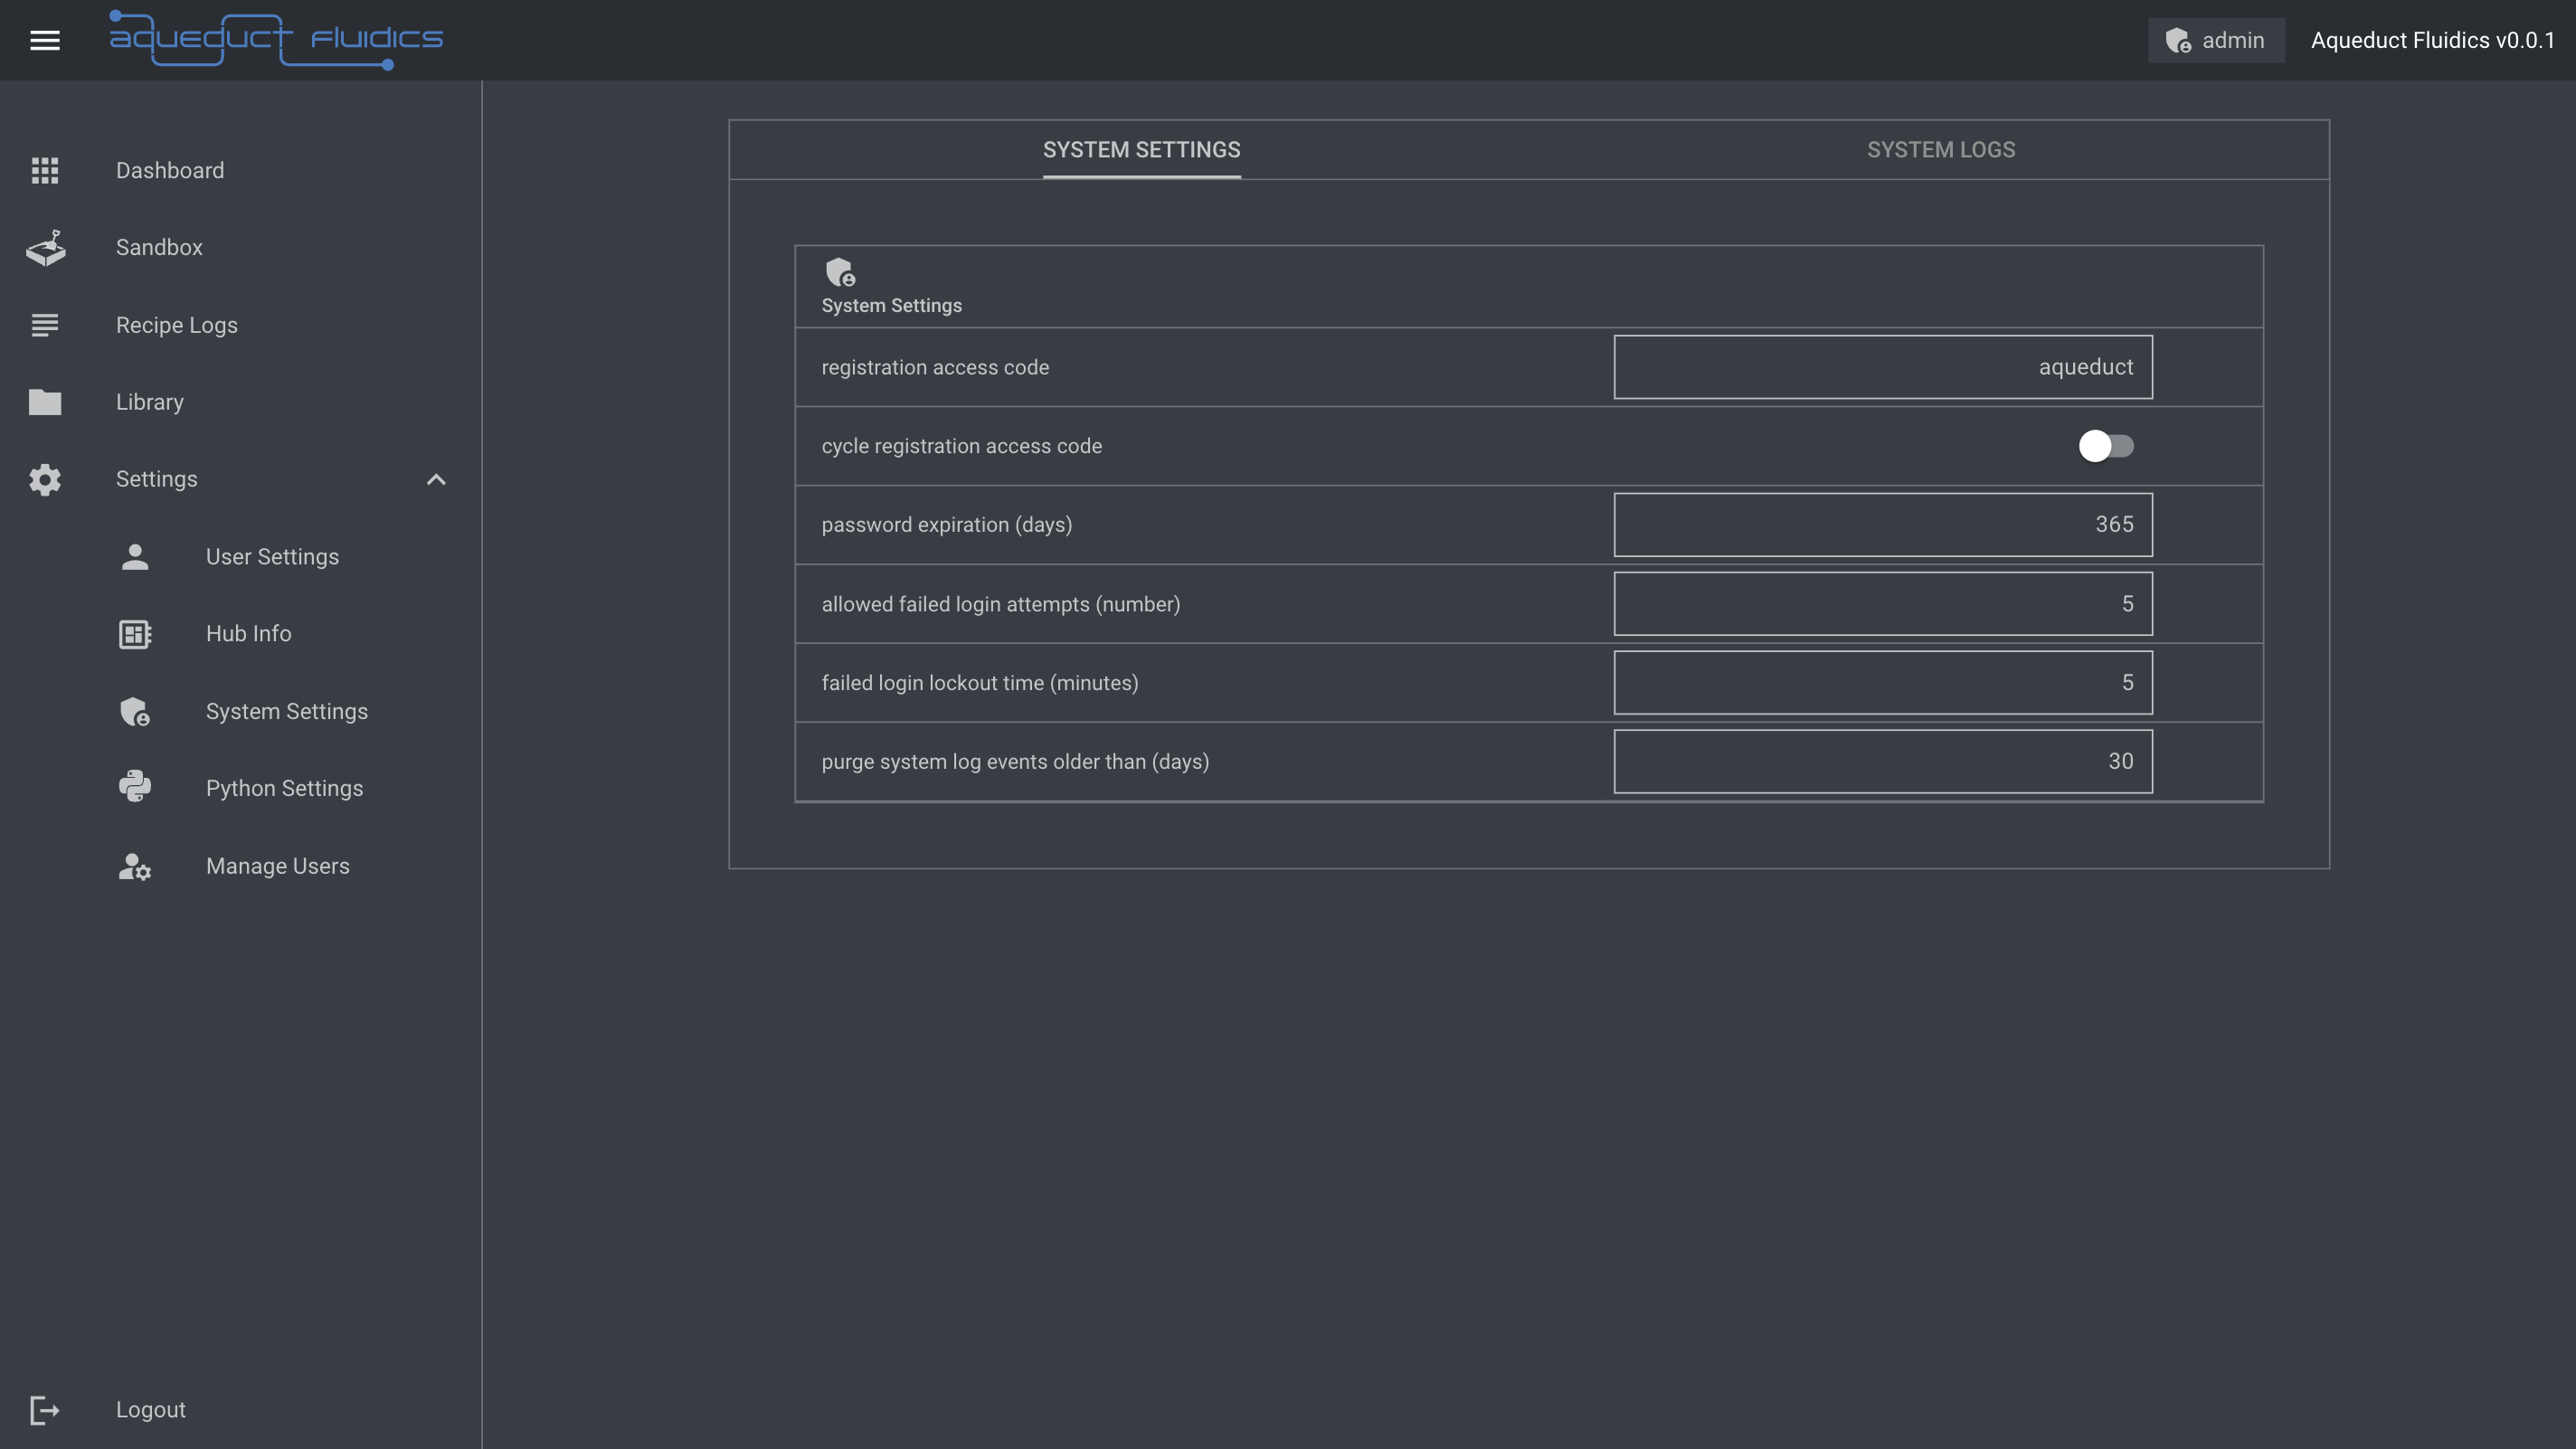
Registration Access Code
- Account creation is restricted by requiring the proper entry of a Registration Access Code.
- The default registration access code is aqueduct, but it can be changed by any user with an admin role in the Hub Settings section of the Dashboard.
- To access the Hub Settings, log in to the admin account and navigate to the Hub Settings link in the Dashboard.
Creating a New User Account
- To create a new user account, go to the sign-in page and click on the Create Account button.
- On the passcode entry screen, enter the Registration Access Code and click Submit.
- After entering the access code, you'll be directed to the account creation screen.
- Enter the desired username and password, then click Create Account to finalize the creation of the new user account.
Note: When creating a password, it must:
- Be between 8 and 32 characters long.
- Contain at least one digit.
- Contain at least one uppercase letter.
- Contain at least one lowercase letter.
- Contain at least one symbol.
Changing or Resetting a User Password
Changing a Password while Logged In
- After logging in, navigate to the My Account section on your Dashboard.
- Click on Reset Password to proceed.
- Enter and confirm a new password in the provided fields at the bottom of the page.
- Click Reset Password to save the new password.
Requesting a Password Reset from an Admin
- If you need to request a password reset, click on the Reset Password link below the Sign-In dialog on the Login page.
- Enter your username in the input field and click Request Password Reset to notify an admin of the request.
Note: An admin must grant permission to reset your password.
- As an admin, navigate to the Users link under the Manage Users heading in the admin Dashboard.
- Select the user who requested a password reset from the table of user accounts.
- Click the Grant button in the row labeled password_update_requested to authorize the password reset.
Configuring Registration Code Cycling
- The application allows for cycling of the Registration Access Code between new user account creation events.
- To configure this feature, go to the Settings link under the Hub Settings section in the admin Dashboard.
- Enter 1 in the Cycle Registration Access Code field to enable code cycling or 0 to disable it.
- Press Update to save the new settings.
Configuring Password Expiration
- The application can enforce password cycling by forcing users to reset their passwords after a specified number of days.
- Configure this duration by navigating to the Settings link under the Hub Settings section in the admin Dashboard.
- Enter the desired password duration (in days) in the Password Expiration (Days) field.
- Press Update to save the new settings.
Account Lockout
- A user account can be locked either by an admin or when the configured number of failed login attempts is exceeded.
Locking a Standard User Account
- To lock a standard user account, go to the Users link under the Manage Users heading in the admin Dashboard.
- Select the user account you want to lock from the table of user accounts.
- Click the Lock button. To unlock the account, repeat the process and click the Unlock button.
Login Failure Lockout
- After a certain number of failed password attempts, a user will be locked out for a specific duration.
- Both the number of allowed failed login attempts and the lockout period can be configured by any user with an admin role.
- Navigate to the Settings link under the Hub Settings section in the admin Dashboard.
- Enter the desired number of allowed failed login attempts and the duration (in minutes) to lock a user account.
- Press Update to save the new settings.
Note: If a user is locked out, an admin can reset the lockout period by going to the Users section under Manage Users in the admin Dashboard. Select the user account that needs a lockout timer reset.
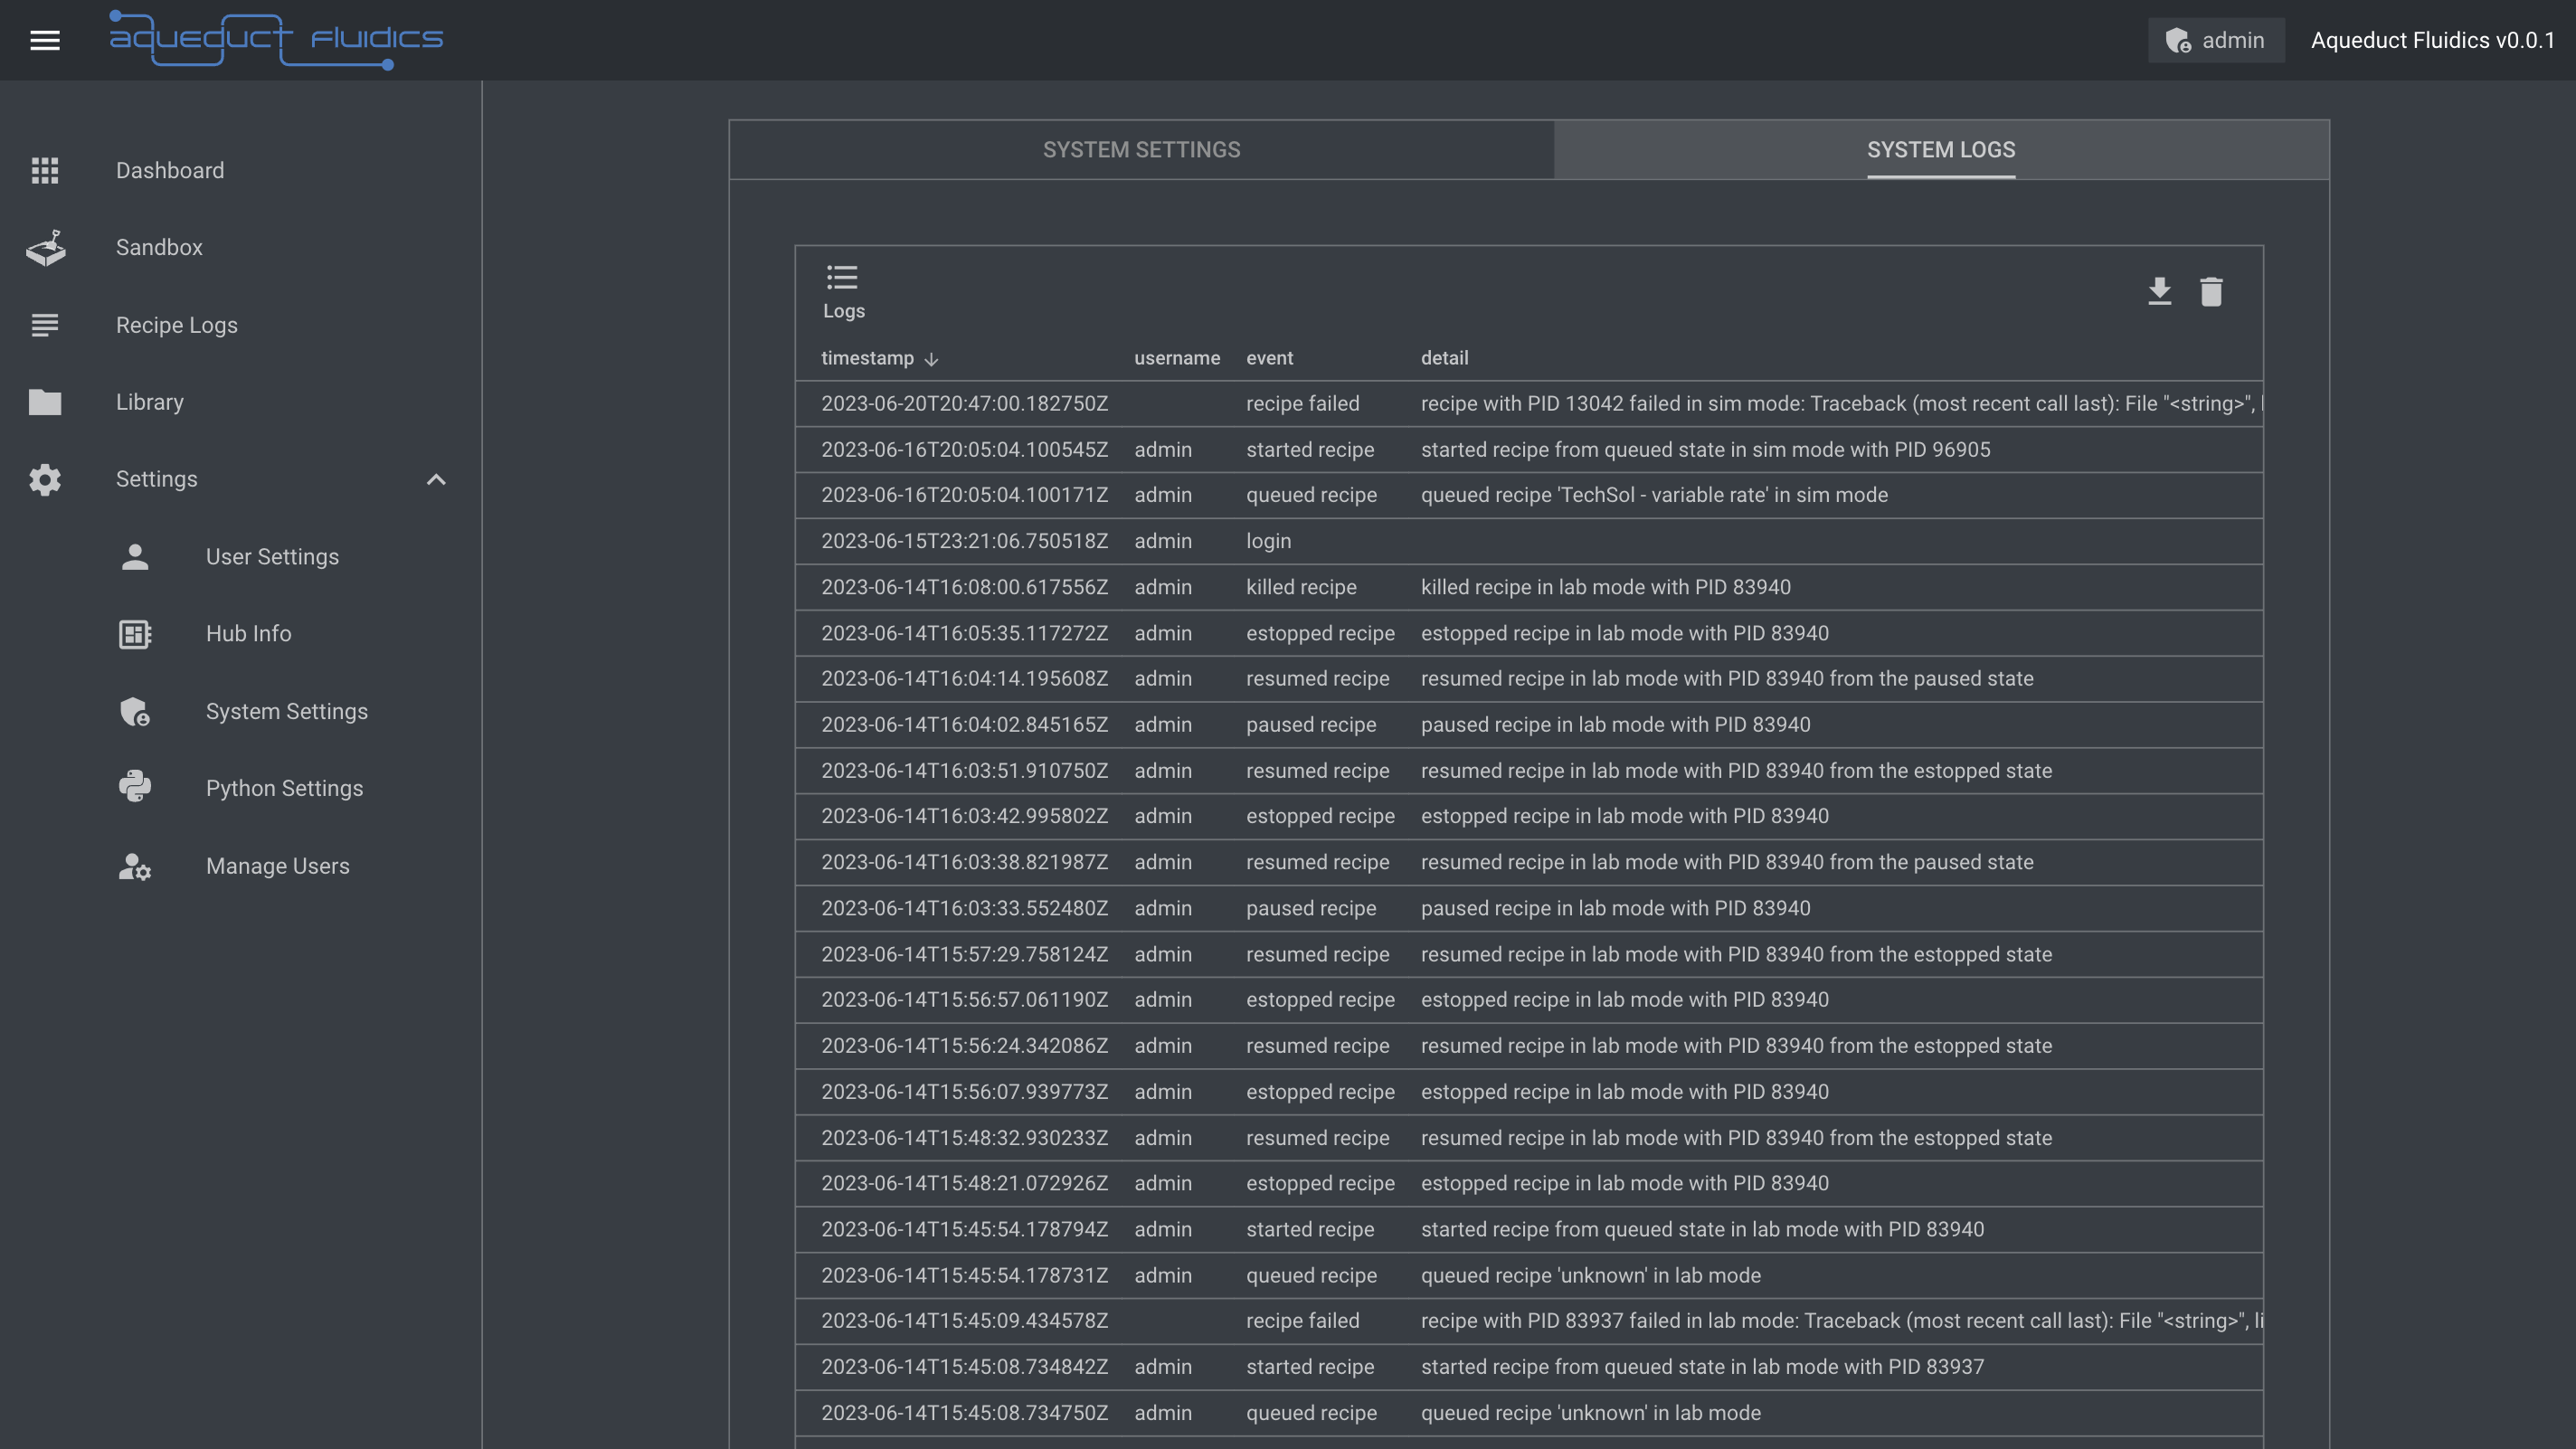
System Logs
The System Logs tab provides access to the logs generated by the Aqueduct system. It offers valuable information about the system's activities, errors, and events, which can be useful for troubleshooting and monitoring purposes.
To access the System Logs tab:
- Navigate to the Aqueduct dashboard.
- Click on the System Settings page.
- Click on the System Logs tab.
Within the System Logs tab, you can:
- View a chronological list of system logs.
- Download logs for further analysis or archival purposes.
- Purge logs that are older than the purge system log events older than setting.
Note that access to the System Logs tab may require appropriate permissions or admin-level access to ensure the security and integrity of the system logs.
Logged Events
| Category | Event |
|---|---|
| User Account | Account creation |
| Password change | |
| Password reset requested | |
| Password reset granted | |
| Successful login | |
| Successful logout | |
| Failed login attempt | |
| Account locked or unlocked | |
| Permissions modified | |
| Changed role | |
| System | Changed date and time |
| Shutdown hub | |
| Setups, Recipes, and Libraries | Uploaded local libraries |
| Deleted local libraries | |
| Created setup | |
| Modified setup | |
| Deleted setup | |
| Uploaded setup | |
| Created recipe | |
| Modified recipe | |
| Deleted recipe | |
| Uploaded recipe | |
| Recipe Execution | Queued recipe |
| Started recipe | |
| Resumed recipe | |
| Paused recipe | |
| E-stopped recipe | |
| Recipe failed | |
| Data Access | Downloaded logs |
| Deleted logs |